55+ Video Editing Tips to Make Better Videos in 2026

Most "video editing tips" articles you find online were written when the ring light was still considered cutting-edge and "add b-roll" counted as expert advice. In 2026, that kind of surface-level guidance doesn't cut it anymore.
The creator economy has exploded. Attention spans have shrunk. Algorithms are smarter. And AI has completely rewritten the rules of what's possible inside an editing timeline. Creators who figured this out early are pulling ahead fast while everyone else is still hunting for silences frame by frame and wondering why their videos aren't converting.
This guide is different. It's built for the current moment, not 2019. You'll get 55+ practical, field-tested video editing tips spanning the entire production lifecycle: planning, recording, audio, editing workflows, AI tools, captions, platform optimization, and the most common mistakes that quietly tank good content.
Whether you're editing screen recordings, talking-head tutorials, or polished product demos, these tips apply. And if you're using a tool like puppydog.io to turn screen recordings into professional product demo videos, several of these tips will directly upgrade the quality of your raw input, which matters more than most people realize.
What Are the Best Video Editing Tips for Beginners? ( Tips 1-10 )

Here's a truth that beginners rarely hear: the edit starts before you hit record. The decisions you make in planning directly determine how hard or easy your edit will be later. Good pre-production is boring. It's also the highest-leverage thing you can do.
Tip 1: Build a simple folder structure before anything else. Label folders for raw footage, audio, music, graphics, and exports. It sounds basic, but creative burnout often begins when you can't find a file.
Tip 2: Use a storyboard or shot list. You don't need to be a filmmaker. Even a rough sketch of what you want to say and show in each segment saves hours in the edit. Think of it as a GPS for your timeline.
Tip 3: Script for clarity, not perfection. You don't need to memorize every word, but having a written script (even bullet points) keeps your content tight and reduces the amount of filler you'll need to cut later.
Tip 4: Apply the 3-2-1 coverage rule. For every topic or scene, aim to capture three different angles or takes, two different shot types (wide and close), and one cutaway or detail shot. This gives you visual escape hatches when something goes wrong.
Tip 5: Plan for "zero-click" content. This is especially important for LinkedIn and YouTube. Structure your video so the main value is delivered inside the video itself, not dependent on clicking a link or navigating elsewhere.
Tip 6: For screen recordings, clean up your desktop before you start. Close unnecessary tabs, hide your taskbar notifications, and set your browser to full screen. If you're creating product demos, something puppydog.io helps automate- a cluttered screen beautifully tells viewers the product is complicated before you've said a word.
Tip 7: Record at a higher resolution than you plan to export. If you're delivering in 1080p, record in 4K. This gives you cropping flexibility in post without any loss of sharpness.
Tip 8: Set your color profile to a flat or log setting if your camera supports it. Apple Log or Sony S-Log3 preserves more dynamic range and gives you far more control in color grading later.
Tip 9: Create a simple content brief even for solo videos. One page with the target audience, key message, call to action, and running time keeps you focused during the edit.
Tip 10: Organize your timeline before you start cutting. Create placeholder sequences for intro, main content, b-roll, and outro before you drop a single clip. It's like mise-en-scene for your editor, everything in its place.
What Is the Best Resolution and Frame Rate to Record Video? (Tips 11–20)
The resolution debate has moved on from "should I shoot 4K?" to "how do I use 4K strategically?" Here's what actually matters in 2026.
Tip 11: Record in 4K at 60fps as your source standard. The 60fps gives you smooth slow-motion playback and, more importantly, the freedom to reframe and crop for vertical formats without the image going soft. Think of 4K as giving you a buffer. You're capturing more than you need, so you can shape it later.
Tip 12: Export for the platform, not the camera. You recorded in 4K, but your YouTube standard deliverable might be 1080p. Your TikTok export is 9:16. Record wide, deliver tight.
Tip 13: For cinematic talking-head content, shoot in 24fps. That motion blur is what makes footage feel like film rather than a surveillance camera. If you're going for authority and narrative weight, 24fps is your frame rate.
Tip 14: Use a tripod or a stabilized mount. Handheld footage is fine for run-and-gun documentary style, but for tutorials, demos, and professional content, camera shake is the fastest way to look amateur.
Tip 15: Follow the three-point lighting setup. Place your key light at roughly 45 degrees from your face to create shape and depth. Add a softer fill light on the opposite side to reduce harsh shadows. Finish with a rim or back light behind you to separate yourself from the background. This setup works with a $150 LED panel rig just as well as a $2,000 studio kit.
Tip 16: Use high-CRI (96+) LED lights. CRI measures how accurately a light source renders colors. A low-CRI light can make healthy skin look greenish or sallow on camera. For 4K footage where every pixel is visible, color accuracy isn't optional.
Tip 17: For small spaces, bounce your key light off a white wall instead of pointing it directly at your face. This creates a large, soft, flattering light source without the setup complexity of a softbox.
Tip 18: For screen recording tips specifically, capture your cursor movements deliberately. Slow, intentional mouse movements are far easier to follow in a tutorial than rapid scrolling. This directly affects the quality of demos you'd feed into a tool like puppydog.io.
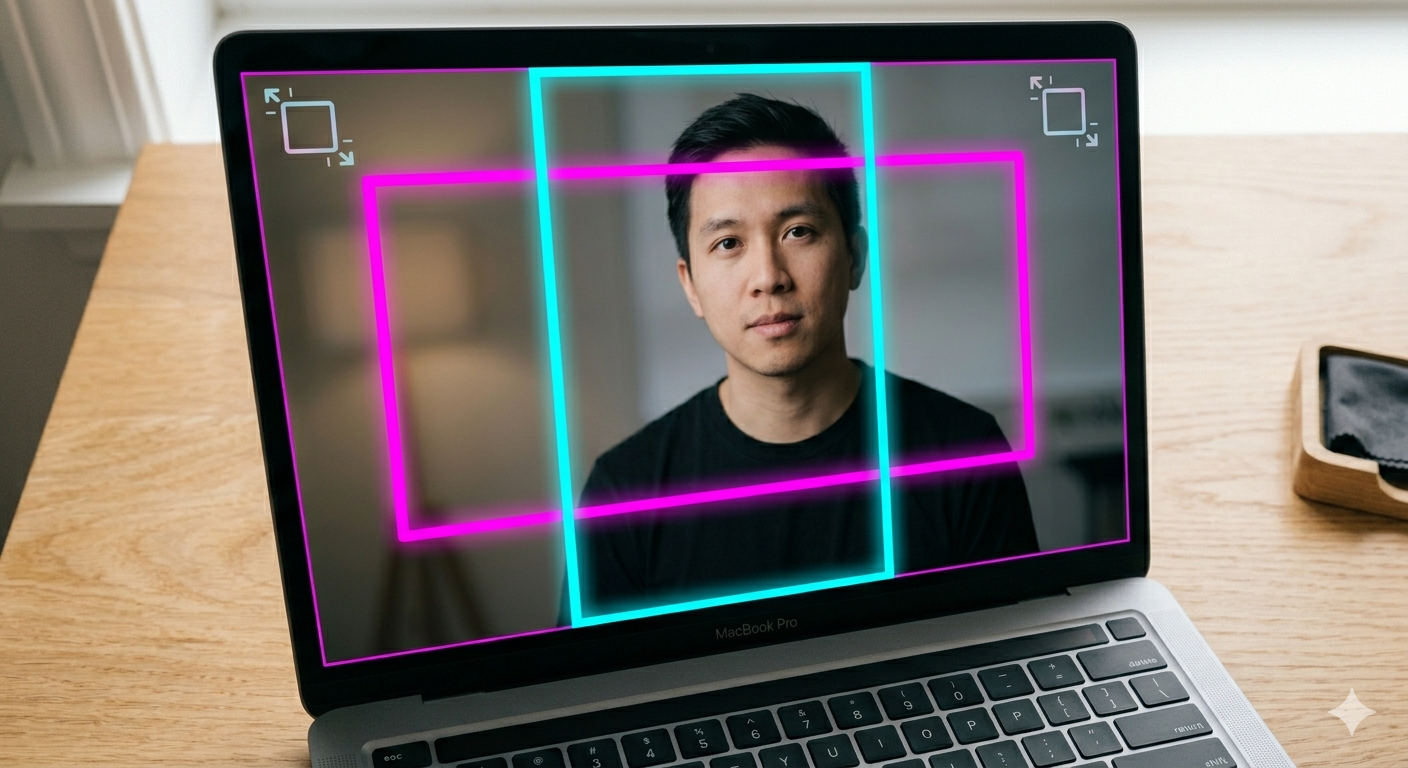
Tip 19: Use the "rule of thirds" for framing. Position your eyes in the upper third of the frame. Looking at a camera with your head centered often feels flat. The slight asymmetry of rule-of-thirds framing creates natural visual tension.
Tip 20: Record 20–30 seconds of room tone at every location, just silence. This ambient audio clip is invaluable in post when you need to fill a gap without the jarring cut of dead air.
How Do I Improve Audio Quality in My Videos? (Tips 21–30)
Here's something every experienced editor will tell you: viewers will forgive mediocre video quality. They will not forgive bad audio. A slightly overexposed shot is irritating. Audio that hisses, clips, or echoes makes people leave. Audio is your first impression before you've shown them anything.
Tip 21: Use an external microphone. Your laptop mic is a last resort, not a tool. A USB condenser mic (like the Blue Yeti or Rode NT-USB Mini) or a lapel microphone attached to your shirt dramatically improves the signal-to-noise ratio with minimal setup.
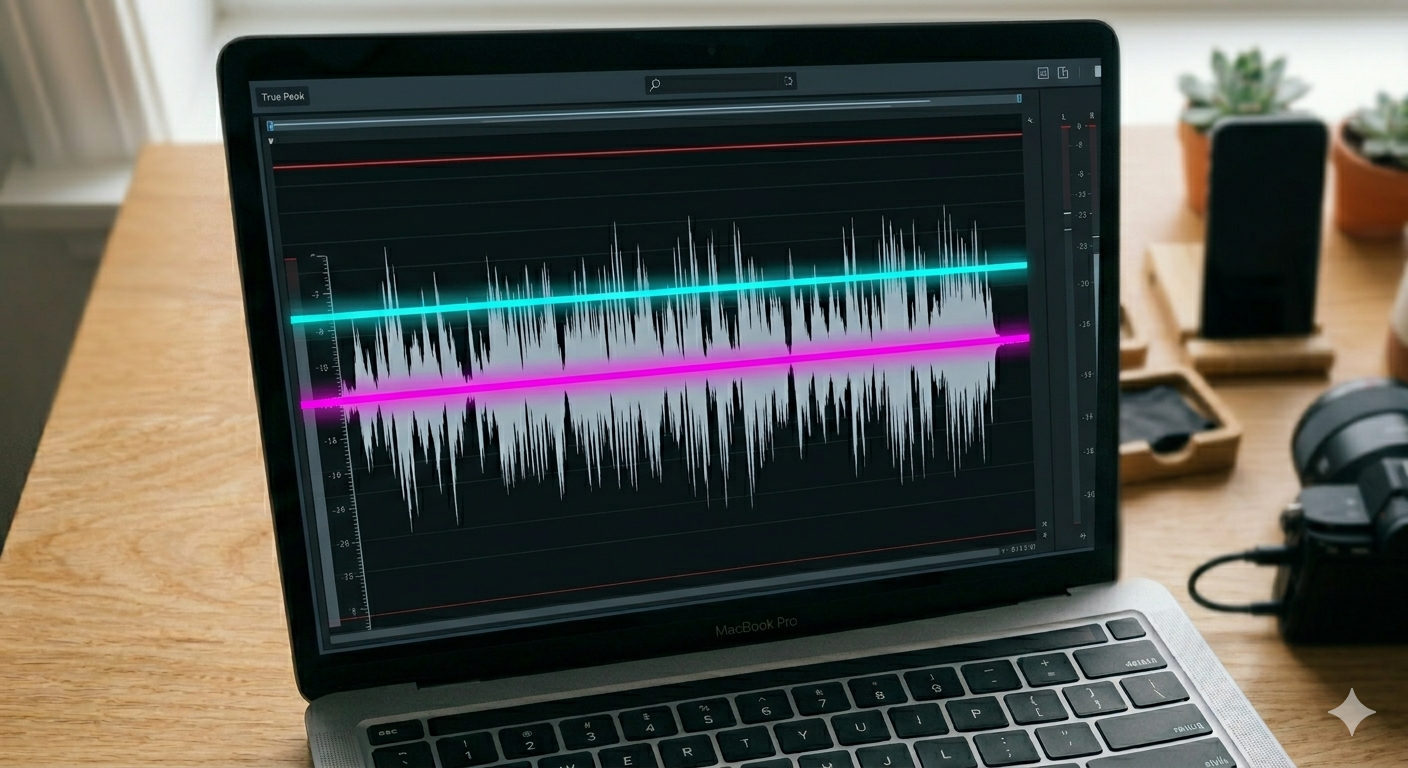
Tip 22: Master to -14 LUFS for YouTube. LUFS (Loudness Units Full Scale) is the standard for normalizing audio across platforms. YouTube targets -14 LUFS integrated loudness with a -1.0 dB true peak. If your audio is louder than this, YouTube will automatically turn it down, and if it's quieter, you'll sound thin. Most audio editors and DAWs have a loudness meter built in.
Tip 23: For TikTok and Reels, you can push slightly louder, around -10 to -12 LUFS. Content that "pops" on a phone speaker in a noisy environment needs a bit more density. Just be aware that some normalization penalties may apply.
Tip 24: Record in the deadest room you have access to. Soft furnishings absorb reflections far better than cheap foam panels. A walk-in closet lined with clothes is a genuinely professional recording environment and doesn't cost anything.
Tip 25: Use AI noise removal tools in post-production. Tools like DaVinci Resolve's Voice Isolation, Adobe Premiere's Enhance Speech, or Descript's Studio Sound can clean up surprisingly noisy recordings without degrading the voice. In many cases, a passable recording becomes a clean one in seconds.
Tip 26: Set your background music 6–10 dB below your voice track. This is the most common mistake in beginner videos. The music fights the dialogue. Use audio ducking (also called sidechain compression) to automatically lower music levels when someone is speaking. Most editing software has this built in.
Tip 27: Record your voiceover in a separate pass from your screen recording whenever possible. Recording clean audio in isolation gives you more flexibility in post. You can replace a word, re-record a section, or adjust pacing without touching the video.
Tip 28: Avoid speaking at the very start or end of a clip. Leave a half-second of breathing room. This makes cut editing cleaner and prevents choppy audio transitions.
Tip 29: Use a pop filter or maintain at least 6 inches of distance from your mic to reduce plosive sounds ("p" and "b" sounds that cause clipping).
Tip 30: Add subtle room reverb to a voiceover recorded in a very dead space. A completely dry voice can sound unnatural and claustrophobic. A tiny amount of reverb (room preset, 0.3–0.5 seconds) adds a sense of space without making it sound like you're in a cathedral.
What Is the Ideal Video Editing Workflow? (Tips 31–40)
The best video editing workflow in 2026 is what you might call "hybrid-AI." Use AI for the mechanical, time-consuming tasks and reserve your human judgment for story, pacing, and emotion.
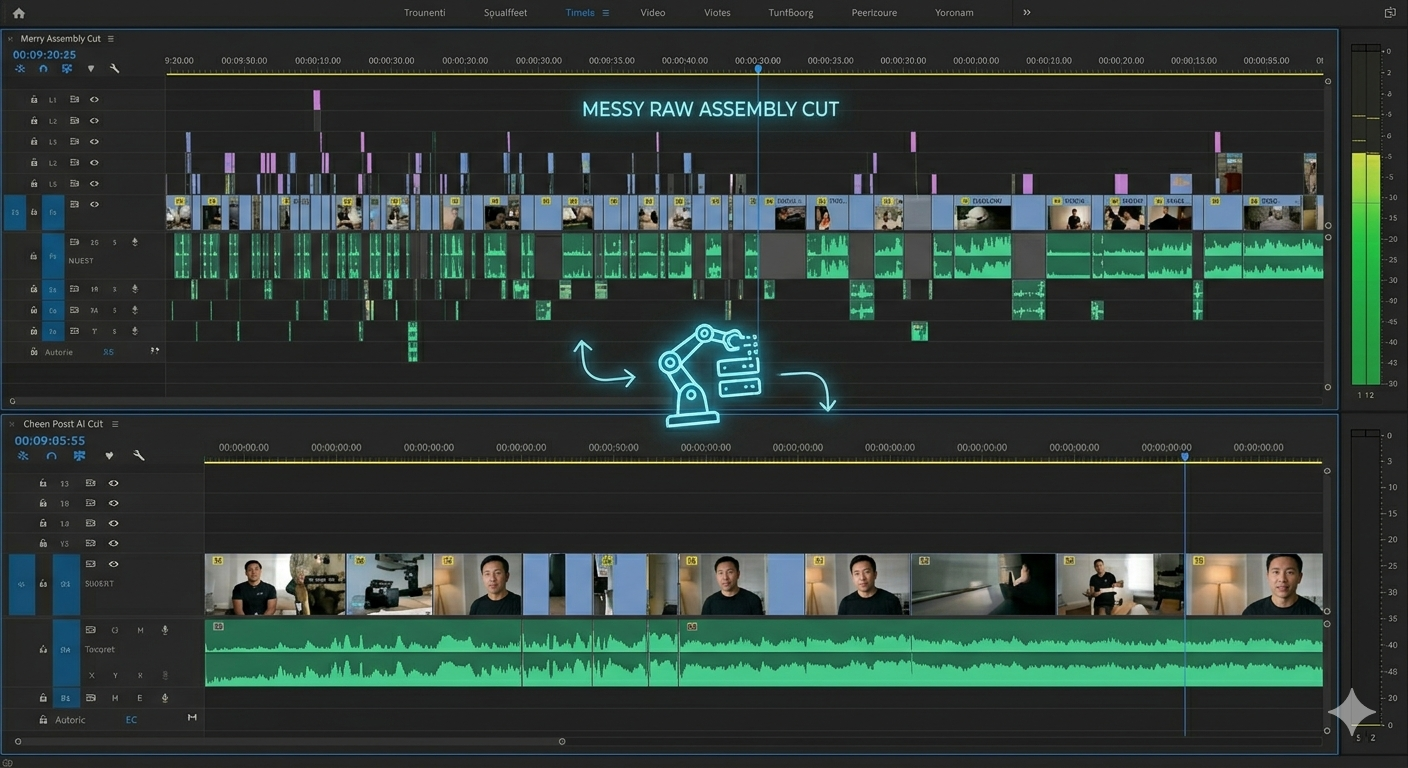
Tip 31: Start with an assembly cut. Don't try to perfect anything on your first pass. Drop all your usable footage into a rough sequence in order and watch it top to bottom. You'll quickly see what's missing, what's redundant, and what's better than you remembered.
Tip 32: Remove silences and filler words in bulk before you begin fine-cutting. Tools like Premiere's auto-sequence feature, DaVinci's cut page silence detection, or plugins like Recut can strip dead air in seconds, saving what used to be hours of manual work.
Tip 33: Use J-cuts and L-cuts to smooth your transitions. A J-cut is when the audio from the next clip starts before the video cuts. An L-cut is the reverse. The current audio continues over the next visual. These techniques mimic the way real conversations flow and make edits feel invisible.
Tip 34: Apply the 3-second visual rule. Every three seconds, introduce a visual shift, a zoom, a text overlay, a cut to b-roll, or a graphic. This maintains the viewer's attention and works with platform algorithms that reward watch time.
Tip 35: Use punch-ins to emphasize key moments. Zooming in by 10–15% during a critical point or a direct camera address adds energy without cutting away. It's subtle, but it's one of the tricks that separates professional-feeling edits from flat ones.
Tip 36: For b-roll footage, match the emotional tone, not just the content. If you're explaining a stressful process, don't use stock footage of smiling coworkers. Visual dissonance undermines your message even when viewers don't consciously notice it.
Tip 37: Color correct before you color grade. Correction is technical: fix white balance, exposure, and contrast so all your clips match. Grading is creative: apply a "look" or mood on top. Doing these in the wrong order creates inconsistent results.
Tip 38: Use a reference frame for color grading. Pick your best-looking clip, grade it to your desired look, and use that as a reference to match the rest. In DaVinci Resolve and Premiere, AI tools can now batch-match color across an entire timeline in seconds using a single reference frame.
Tip 39: Build your export presets once and save them. Create presets for YouTube 1080p, YouTube 4K, Instagram 9:16, and LinkedIn 16:9. Every time you finish a project, you should be hitting "export preset," not manually typing codec settings.
Tip 40: End with a "next action," not a fade to black. Your final seconds should direct the viewer somewhere. another video, a lead magnet, a subscribe button. A soft ending tanks retention and conversion. The viewer who watches all the way through is your most valuable viewer. Don't waste the moment.
How Do I Add Captions and Subtitles to My Videos? (Tips 41–48)

Captions are no longer just an accessibility feature. They're a reach strategy. Around 80% of LinkedIn videos are watched without sound, according to LinkedIn's own platform data. On Facebook, it's 85%. If your video doesn't make sense on mute, you're losing the majority of your potential audience before they ever turn the volume up.
Tip 41: Use AI transcription tools like Descript, Premiere's text panel, or DaVinci Resolve's subtitle generator to create a caption draft automatically. These tools are fast and surprisingly accurate, but don't skip the review step.
Tip 42: Manually review all captions for accuracy. Auto-captions typically hit around 85% accuracy. For professional content and accessibility compliance, you need to be much closer to 99%. Names, technical terms, and industry jargon are where AI almost always stumbles.
Tip 43: Know the difference between captions and subtitles. Subtitles translate dialogue. Captions include non-dialogue audio, things like [upbeat music] or [door closes]. And speaker identification. If you're producing content for public institutions or government-adjacent organizations, true captions (not just subtitles) are what compliance requires.
What's the Latest on Video Accessibility Compliance?
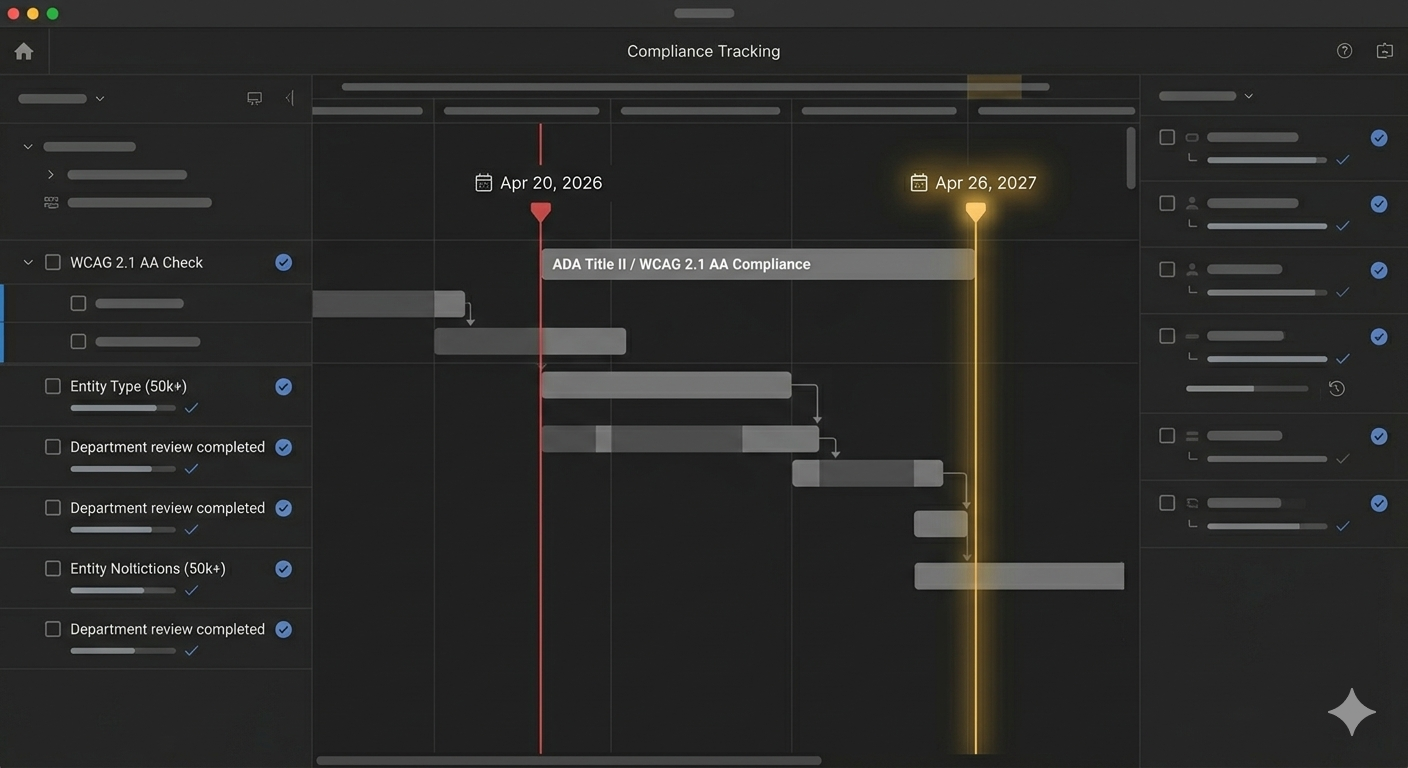
Tip 44: Be aware of the ADA Title II update. In April 2024, the U.S. Department of Justice finalized a rule requiring state and local government entities, including public universities, schools, and agencies, to meet WCAG 2.1 Level AA standards. Important update: as of April 20, 2026, the DOJ issued an Interim Final Rule extending both compliance deadlines by one year. Larger entities (50,000+ population) now have until April 26, 2027. If you're creating video content for any public institution, accessibility isn't optional, and that deadline is moving fast.
Tip 45: Keep captions on-screen for at least three seconds. This is both a readability standard and an SEO signal. search engines index on-screen text, which means your captions are contributing to your video's discoverability.
Tip 46: Add audio descriptions for key visual information. WCAG 2.1 Level AA requires audio descriptions for pre-recorded video where essential visual information isn't conveyed through the dialogue. This is particularly relevant for software demo videos and tutorials. plan for it at the scripting stage, not as an afterthought.
H3: How to Design Video Thumbnails That Actually Get Clicked
Tip 47: Follow the 60-30-10 color framework for thumbnails. 60% dominant background color (high contrast against YouTube's UI), 30% your subject or main face, 10% accent color for text or emphasis. This ratio creates visual hierarchy without chaos.
Tip 48: Use genuine expressions, not exaggerated shock faces. The "mouth-wide-open in surprise" thumbnail trend is wearing thin with audiences. In 2026, thumbnails that show genuine curiosity, confidence, or thoughtfulness outperform theatrical expressions. Positioning eyes in the upper third of the frame creates an instant psychological connection.
How Can AI Help With Video Editing in 2026? (Tips 49–53)
AI in 2026 is not about generating fake videos or replacing creative judgment. It's about eliminating the mechanical, repetitive tasks that used to consume 60–90% of an editor's time.
Tip 49: Use AI for your assembly cut. Tools like Selects.ai handle multicam syncing, filler word removal, topic detection, and rough cut generation automatically. What used to take four hours now takes fifteen minutes, and the rough cut that comes out is genuinely usable.
Here's a quick overview of the best AI video editing tools in 2026:
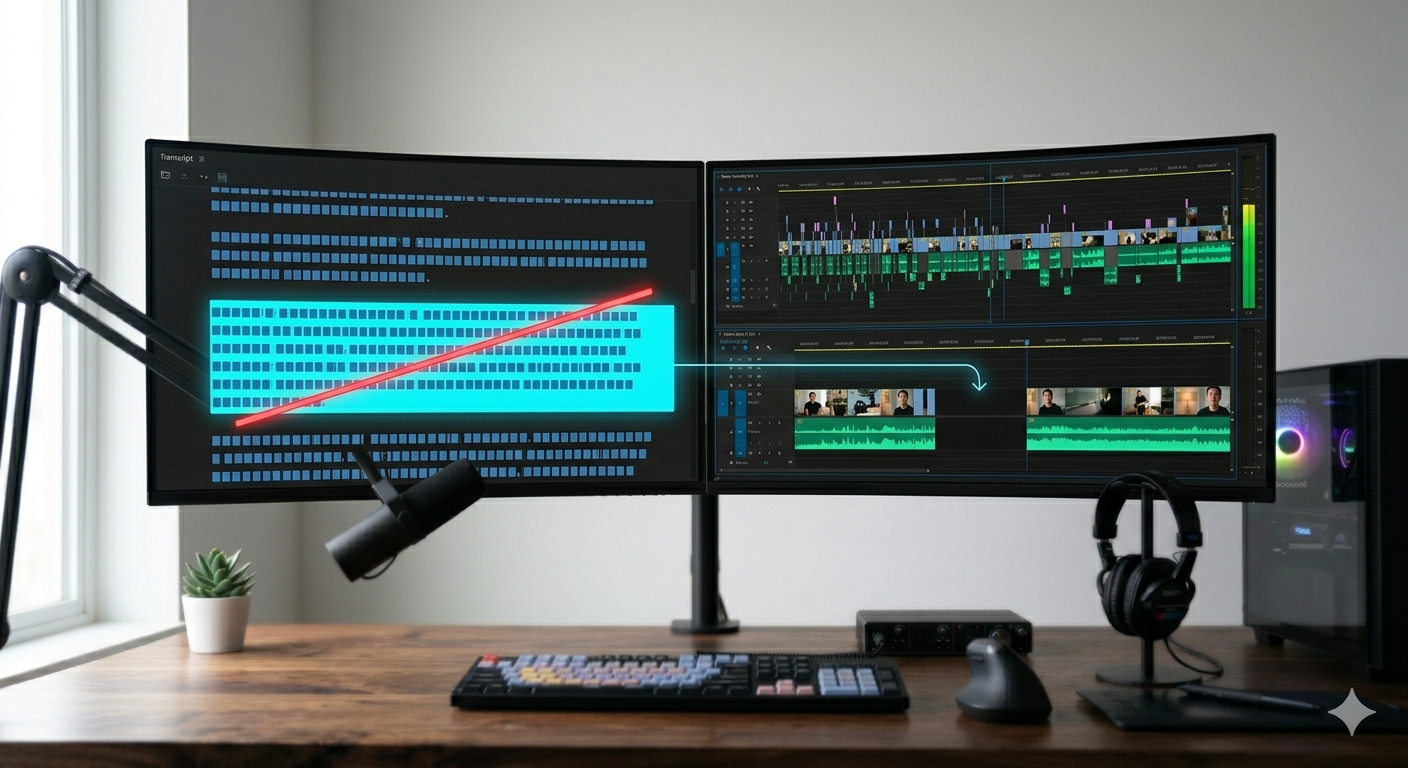
Tip 50: Use text-based editing for dialogue-heavy content. In Descript and similar tools, you edit the video by editing a transcript, deleting a word, and the clip ripples automatically. For tutorials, interviews, talking-head content, and product walkthroughs, this approach is dramatically faster than traditional timeline editing.
Tip 51: Let AI handle your B-roll matching. Plugins like FireCut can automatically find B-roll footage that matches your spoken content and insert it at relevant points in the timeline. It's not always perfect. You'll want to review the picks, but it eliminates the tedious browsing that eats hours.
Tip 52: Use AI smart reframing for platform repurposing. Recording in 16:9 and posting to TikTok without cropping? You'll get black bars and reduced engagement. AI smart reframing tools (available in Premiere, CapCut, and DaVinci) automatically detect the subject and recenter it in a 9:16 frame. It's not flawless, but it saves hours of manual keyframing.
Tip 53: Use AI to extract social clips from long-form content. Tools like Opus Clip, Descript, and Selects can identify the highest-engagement moments in a long video and automatically generate short-form clips with captions, subtitles, and aspect ratio conversions, all platform-ready. This is how one video shoot becomes a week of content across YouTube, LinkedIn, and TikTok.
Speaking of repurposing: if you're in SaaS and your long-form screen recordings need to be turned into clean, polished product demo videos, puppydog.io is worth bookmarking. It's built specifically for that workflow, taking your raw screen recordings or screenshots and transforming them into personalized, shareable demos without a full editing session.
How to Edit Videos for YouTube, TikTok, LinkedIn, and Instagram Reels (Tips 54–58)

One of the biggest mistakes creators make is treating all platforms as the same. They're not. Each one is a different psychological environment with its own algorithm, its own audience expectations, and its own definition of "good content."
Tip 54: YouTube (long-form) Your first three seconds must answer the curiosity gap created by your thumbnail. If the thumbnail promises a shocking reveal, that reveal has to be implied (not delivered) within the first few seconds. Hold it just long enough to hook. For YouTube Shorts, the sweet spot is 60–90 seconds, and searchable evergreen topics outperform trending sounds over time.
Tip 55: LinkedIn The key stat to internalize is this: roughly 80% of LinkedIn videos are watched silently. That means burned-in captions aren't nice to have. They're the difference between being seen and being scrolled past. Educational and "how-to" content performs significantly better than promotional content. Keep videos under two minutes for feed posts, and deliver the full value inside the video so the viewer doesn't have to go anywhere else.
Tip 56: TikTok and Instagram Reels: These platforms are wired differently. Authenticity and consistency matter far more than production value. Posting 5–7 times per week with good audio beats, posting once a week with cinematic lighting. Use a 9:16 aspect ratio natively, never repost a 16:9 video with black bars. The algorithm will tank your reach.
Tip 57: Match your pacing to the platform. TikTok content thrives on fast cuts, quick transitions, and high visual energy. LinkedIn rewards slower, more deliberate pacing that signals authority and thoughtfulness. A "one edit fits all platforms" approach doesn't work. You'll need to recut, not just repost.
Tip 58: Know your aspect ratios cold:
- YouTube long-form: 16:9 (1920x1080 or 3840x2160)
- YouTube Shorts / TikTok / Instagram Reels: 9:16 (1080x1920)
- LinkedIn feed video: 16:9 or 1:1 (square performs well)
- LinkedIn Stories: 9:16
- Twitter/X: 16:9 or 1:1
Which Video Editing Software Should You Use?
The honest answer: it depends on what you're making and how much time you have to learn. Here's the current landscape, no bias, no brand deals:
For most creators starting out, DaVinci Resolve (free version) is the most powerful no-cost option available. For screen recording and SaaS content, Descript or Camtasia handles most use cases well. For social-first short-form, CapCut is hard to beat at the free tier. Just be aware that Pro pricing has changed significantly after a 2025 restructure.
What Are the Most Common Video Editing Mistakes?

Let's talk about what not to do. These are the "amateur markers," the habits that give away a beginner edit even when everything else looks solid.
Mistake 1: Overusing flashy transitions. Wipes, star wipes, and 3D flips are rarely the right choice. Use a hard cut for 90% of your edit. Reserve dissolves for transitions between scenes or time jumps. The rule is simple: transitions should serve the story, not show off your software's features.
Mistake 2: Ignoring audio quality. You can see a slightly dark frame and forgive it. You cannot tune out background hiss or echo for the duration of a ten-minute video. If your audio isn't clean, fix it, or reshoot. Nothing else on this list matters more.
Mistake 3: Skipping captions. We've said it, but it bears repeating. With the majority of social video consumed silently, a video without captions is a video that's already working at a fraction of its potential.
Mistake 4: Inconsistent aspect ratios. Posting a 16:9 video to a 9:16 platform creates black bars and signals to the algorithm that your content wasn't made for that platform. It won't be favored. Always native-crop for each destination.
Mistake 5: Soft endings. Ending with "thanks for watching, like and subscribe!" is the video equivalent of trailing off mid-sentence. Your final seconds need a clear "next action,” a specific recommendation for what to watch next, a lead magnet offer, or a CTA that points somewhere useful. The person who watched to the end is your best lead. Don't let them drift.
Mistake 6: Never reviewing before publishing. Watch your video at 1.5x speed before you post it. You'll catch awkward pacing, audio dropouts, spelling errors in graphics, and moments that simply don't land, things you missed during the edit because you were too close to it.
Mistake 7: Manual silence hunting. If you're spending hours scrubbing through a timeline, removing dead air one pause at a time, that's the "Premiere Pro Hunch," and it's a fixable problem. Use silence removal plugins and AI-powered tools to handle this in minutes, not hours.
Conclusion: Better Videos Don't Happen by Accident
Here's the thing no one tells you when you're starting out: professional-looking videos are rarely the result of more expensive gear. They're the result of better systems, smarter decisions in pre-production, cleaner audio habits, and an editing workflow that removes friction at every stage.
The creators who consistently produce high-quality content in 2026 aren't necessarily more talented. They've built repeatable processes, adopted the right AI tools for the mechanical work, and focused their creative energy where it actually matters on story, pacing, and connection with the viewer.
Start with the tips that solve your biggest current headache. Fix your audio first if that's the weak link. Learn to color correct before you color grade. Add captions to everything you post. Then build from there.
And if part of your video production involves screen recordings, whether for SaaS demos, onboarding flows, or product walkthroughs, take a look at what puppydog.io can do for that specific workflow. Turning raw screen recordings and screenshots into polished, personalized demo videos is exactly the kind of friction it's designed to remove.
Better videos aren't a destination. They're a practice. Now you have the map.

Sarah Thompson is a storyteller at heart and Business Developer at PuppyDog.io. She’s passionate about creating meaningful content that connects people with ideas, especially where technology and creativity meet.